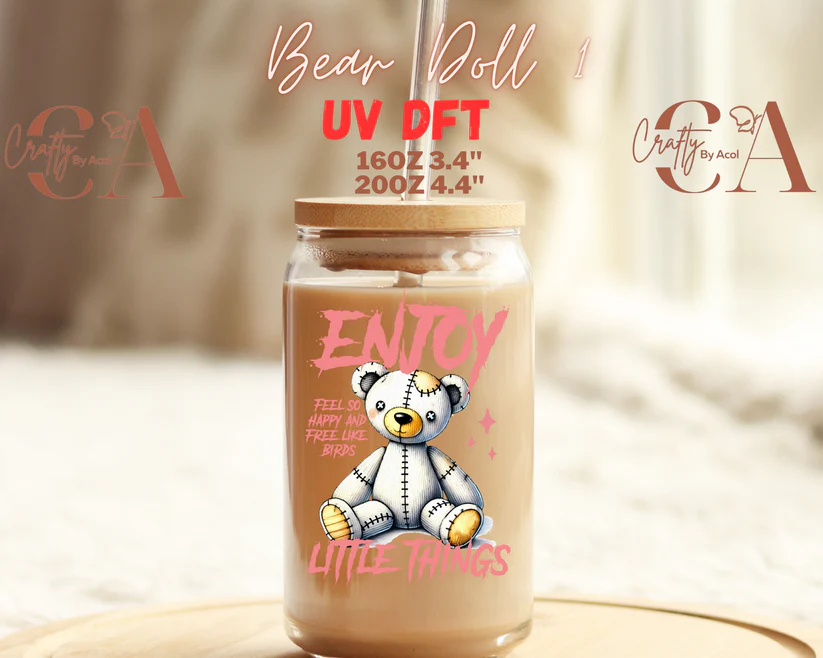
A UV DFT Decal is one of the best elements that you can install on diverse flat surfaces such as glass, metal, or even wood. While they offer impressive results, you must ensure to follow the steps carefully to attain these results. Often you may find the decal coming from the surface. This happens if you have not installed it properly. In this article, we will understand how to apply decals perfectly step by step.
Important Step - Preparing the Surface First
Before you start applying the decal, the first important point is to prepare the surface on which you will apply it. One of the essential prerequisites of the surface is that it has to be flat and without irregularities on it. Secondly, it should be extremely clean, moreover, free from any dirt that may cause disruption to the flat surface.
Clean the surface with a combination of rubbing alcohol and soap water. The surface should be absolutely clear. Also, after you have cleaned the surface carefully, make sure that you dry out the surface properly. Any water particle on the surface can disrupt the adhesive of the sticker. Similar to water, even the temperature of the surface can cause an issue. So, ensure that the temperature of the surface is neither too high nor too low. The temperature often troubles the adhesive and the decal will not stick properly on the surface.
Once you have prepared the surface well, it is time to apply the decal. You can choose from several options such as Bear Doll UV DFT Decal or similar for tumblers, glasses, and many more to come up with amazing gifting options.
How to Apply Decals Perfectly?
Now when you have prepared the surface well, let us check out the steps necessary for the application of the decal on the prepared surface.
To ensure placing the decal properly, you must first trace an outline with a pencil on the surface. Place the decal on the surface and carefully draw an outline that you can erase and draw again if it is not correct in the first place. This will omit the chances of wrong placement of the decal.
Once you have outlined, now place the head of the decal within the outline in such a way that the other parts of the decal also can sit within the outline appropriately.
While holding the decal strongly in the above position, slowly take off the peel from the backside of the decal. Make sure to do this process extremely carefully without removing the decal from the position within the outline.
Once you have removed the peel from the back, now slowly place the decal on the surface within the outline that you have planned. If you have held the decal correctly from one side, you can easily place it on the outline without much of a problem or error.
Just do not leave the decal after pasting it on the surface. After you do so, gently rub on it, putting a little pressure on it for some time. Moreover, be assured that the decal is completely pasted on the surface and there are no air bubbles in between.

Once you are sure that the adhesive has hugged the surface tightly and there is no room for further air bubbles, it is time to offer the decal a final touch. To do this, peel off the clear film over the decal gently.
And Ta Da!! You are done with the application process of decal on any flat surface that you want. Whether you want to get it for yourself-pleasure or wish to gift someone, decals can be a great idea to beautify a simple and regular object.
Try out themed ideas at Crafty Cups by Acol to get something that absolutely suits your requirement.

